ownCloud
2016/2/20更新
対応バージョン: 8.2
CentOS 7にownCloudを導入する手順を示す。データベースはMariaDBを使用する。
インストール
ownCloudにはCentOS 7用のリポジトリが用意されているのでyumで簡単にインストールできる。以下、関連作業を示す。
キーファイルのインポート
% sudo rpm --import https://download.owncloud.org/download/repositories/stable/CentOS_7/repodata/repomd.xml.key
EPELリポジトリインストール
% sudo rpm -Uhv http://dl.fedoraproject.org/pub/epel/7/$(uname -i)/e/epel-release-7-5.noarch.rpm
ownCloudリポジトリインストール
% sudo wget http://download.owncloud.org/download/repositories/stable/CentOS_7/ce:stable.repo -O /etc/yum.repos.d/ce:stable.repo
yumのキャッシュクリア
% sudo yum clean expire-cache
ownCloudインストール
% sudo yum -y install owncloud php-mysql
mariaDBインストール
% sudo yum -y install mariadb-server
各種設定
PHP設定
文字コードとタイムゾーンを設定する。
% cd /etc
% sudo vi php.ini

(変更前)
  692 ;default_charset = "UTF-8"

  878 ;date.timezone =

(変更後)
  692 default_charset = "UTF-8"

  878 date.timezone = "Asia/Tokyo"
Apache設定
サービスを有効化して再起動する。
% sudo systemctl enable httpd
% sudo systemctl restart httpd
MariaDB設定
サーバ、クライアント双方の文字コードを設定する。
% cd /etc/my.cnf.d
% sudo vi client.cnf

   7 [client]
   8 default-character-set = utf8 <- 追加

% sudo vi server.cnf

  12 [mysqld]
  13 character-set-server = utf8 <- 追加
設定が終わったらサービスを有効化して起動する。
% sudo systemctl enable mariadb
% sudo systemctl start mariadb
サービスが起動したらmysql_secure_installationコマンドを実行してMariaDBを初期化する。最初に出力される「find_mysql_client: コマンドが見つかりません」は無視してよい。
% sudo mysql_secure_installation
/bin/mysql_secure_installation: 行 379: find_mysql_client: コマンドが見つかりません

NOTE: RUNNING ALL PARTS OF THIS SCRIPT IS RECOMMENDED FOR ALL MariaDB
      SERVERS IN PRODUCTION USE!  PLEASE READ EACH STEP CAREFULLY!

In order to log into MariaDB to secure it, we'll need the current
password for the root user.  If you've just installed MariaDB, and
you haven't set the root password yet, the password will be blank,
so you should just press enter here.

Enter current password for root (enter for none): <--- Enter(現在のrootのパスワード = なし)
OK, successfully used password, moving on...

Setting the root password ensures that nobody can log into the MariaDB
root user without the proper authorisation.

Set root password? [Y/n] <--- Enter(rootパスワード設定)
New password: ***** <--- 任意のrootパスワード設定
Re-enter new password: ***** <--- 任意のrootパスワード設定
Password updated successfully!
Reloading privilege tables..
 ... Success!


By default, a MariaDB installation has an anonymous user, allowing anyone
to log into MariaDB without having to have a user account created for
them.  This is intended only for testing, and to make the installation
go a bit smoother.  You should remove them before moving into a
production environment.

Remove anonymous users? [Y/n] <--- Enter(匿名ユーザ削除)
 ... Success!

Normally, root should only be allowed to connect from 'localhost'.  This
ensures that someone cannot guess at the root password from the network.

Disallow root login remotely? [Y/n] <--- Enter(リモートからのrootログイン禁止)
 ... Success!

By default, MariaDB comes with a database named 'test' that anyone can
access.  This is also intended only for testing, and should be removed
before moving into a production environment.

Remove test database and access to it? [Y/n] <--- Enter(testデータベース削除)
 - Dropping test database...
 ... Success!
 - Removing privileges on test database...
 ... Success!

Reloading the privilege tables will ensure that all changes made so far
will take effect immediately.

Reload privilege tables now? [Y/n] <--- Enter(特権情報リロード)
 ... Success!

Cleaning up...

All done!  If you've completed all of the above steps, your MariaDB
installation should now be secure.

Thanks for using MariaDB!
MariaDBの初期化が終わったらownCloud用のデータベースを作成する。
% mysql -u root -p
Enter password: *****
:
MariaDB [(none)]> CREATE DATABASE owncloud;
Query OK, 1 row affected (0.00 sec)

MariaDB [(none)]> GRANT ALL ON owncloud.* to owncloud@localhost IDENTIFIED BY '*****'; <--- 任意のパスワード

Query OK, 0 rows affected (0.00 sec)

MariaDB [(none)]> quit;
Bye
ownCloud設定
Webブラウザから自身のサーバの/owncloud(http://xxx.xxx.xxx.xxx/owncloud)にアクセスし、管理者アカウントを指定して 「ストレージとデータベース」をクリックする。
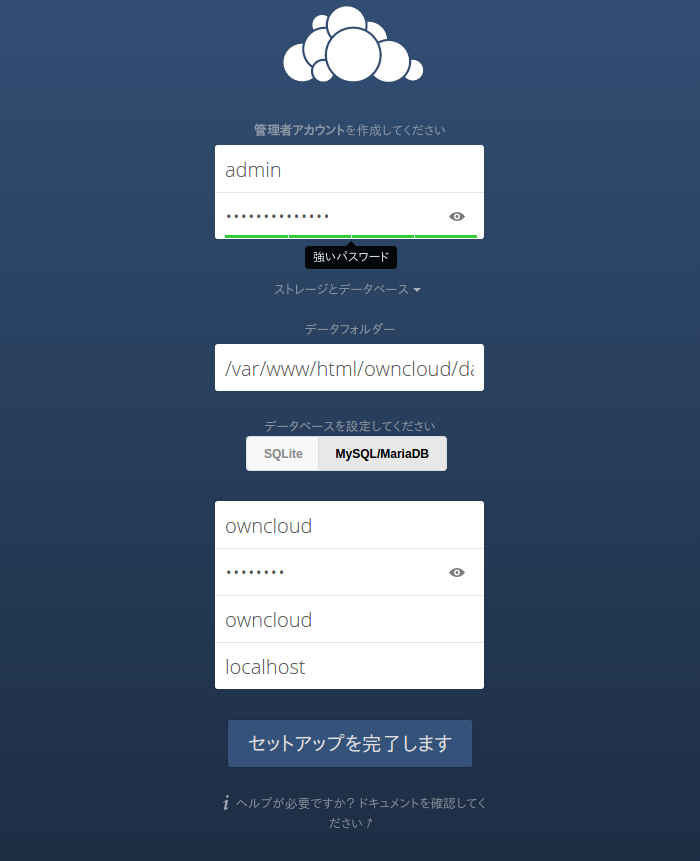
データフォルダーは必要に応じて変更し、データベースは「MySQL/MariaDB」を選択する。
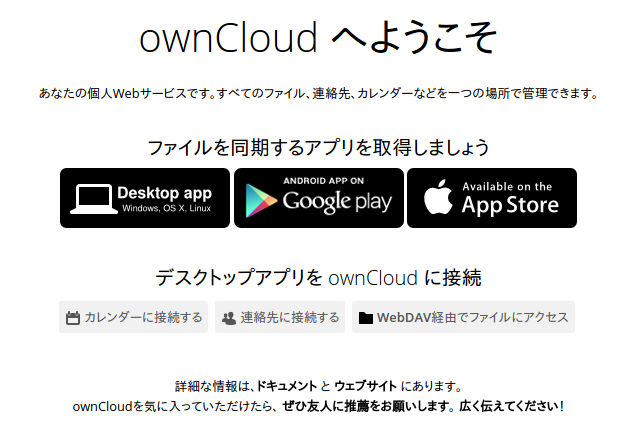
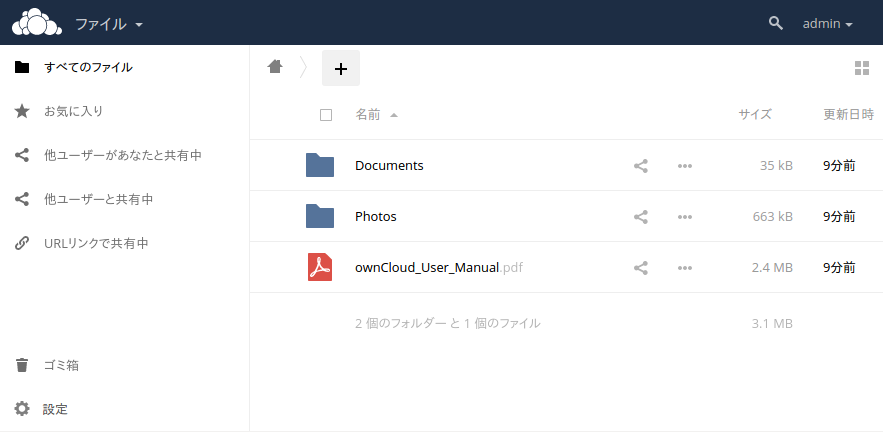
MariaDB設定情報の入力を促されるので先に作成したownCloud用ユーザ/データベースの情報を入力して「セットアップを完了します」をクリックするとようこそ画面が出たあとに管理者アカウントでログインするのでファイル操作が可能になる。
ここで設定した内容は/var/www/html/owncloud/config/config.phpに格納されるので設定し直したい場合はこのファイルを直接編集するか、いったん削除して再びWeb UIにて設定する。
参考サイト
ownCloudマニュアル (公式サイト)
ownCloud技術情報 (Qiita)